Simple 3-Step Regimen to naturally Get Rid of Dandruff
If you’ve read our comprehensive guide on the 5 Essential Pillars to eliminate dandruff naturally, you now understand the complex science behind this frustrating condition. However, comprehending the “why” is only half the struggle—you require a clear, practical “how” to apply this knowledge effectively.
That’s precisely what this simple 3-step regimen delivers. While the 5 Pillars post gave you the scientific foundation, this guide provides the streamlined, practical routine you can start using today. This regimen eliminates the need for complicated schedules, overwhelming product lists, and confusion about what to do.
Instead of simplifying for convenience, this guide strives to achieve maximum impact with minimal complexity. Each of these three steps has been carefully designed to address multiple aspects of scalp health simultaneously, working together to create an environment where dandruff simply cannot survive.
Here’s what makes this approach different: Instead of treating dandruff as a surface problem requiring constant management, this regimen addresses the underlying biological processes that create flakes in the first place. You’re not just applying treatments; you’re systematically dismantling the conditions that allow dandruff to thrive while building long-term scalp health. Most people see noticeable improvements within 2-3 weeks, with significant results by 6-8 weeks of consistent use.
Ready to transform your daily routine into a powerful dandruff-fighting system? Let’s turn the science into action and get you the dandruff-free scalp you’ve been seeking naturally.

The 3-Step Natural Dandruff Regimen
Now that you understand the science behind dandruff from our 5 Pillars approach, it’s time to put that knowledge into action with a streamlined, practical regimen that addresses all the underlying mechanisms systematically.
This isn’t about adding more complexity to your routine. Each of the following three steps targets different aspects of scalp health while working synergistically to create an environment where dandruff simply cannot thrive. Think of it as a comprehensive system where each component amplifies the effectiveness of the others.
Step 1 focuses on microbial rebalancing through targeted antifungal cleansing that helps restore your scalp’s natural ecosystem rather than just stripping away symptoms. The second Step addresses the conditioning and pH balance your scalp needs to maintain that healthy state between treatments. Finally Step 3 provides continuous therapeutic support through a daily leave-in treatment that works around the clock to prevent flake formation and accelerate healing.
What makes this regimen different from typical dandruff treatments is the combination of periodic intensive care (Steps 1 and 2) with continuous maintenance therapy (Step 3). Conventional approaches only work for the brief moments they apply to your scalp, but this system ensures that therapeutic compounds work for you 24/7.
The beauty lies in the synergy: Your piroctone olamine shampoo creates the foundation by rebalancing problematic microorganisms, your conditioning treatment maintains optimal pH and barrier function, and your daily serum provides ongoing protection and repair. Together, they tackle all the important areas we found in the 5 Pillars—balancing the microbiome, controlling sebum, reducing inflammation, gently exfoliating, and barrier restoration. Let’s walk through each step so you can start seeing results within weeks, not months.
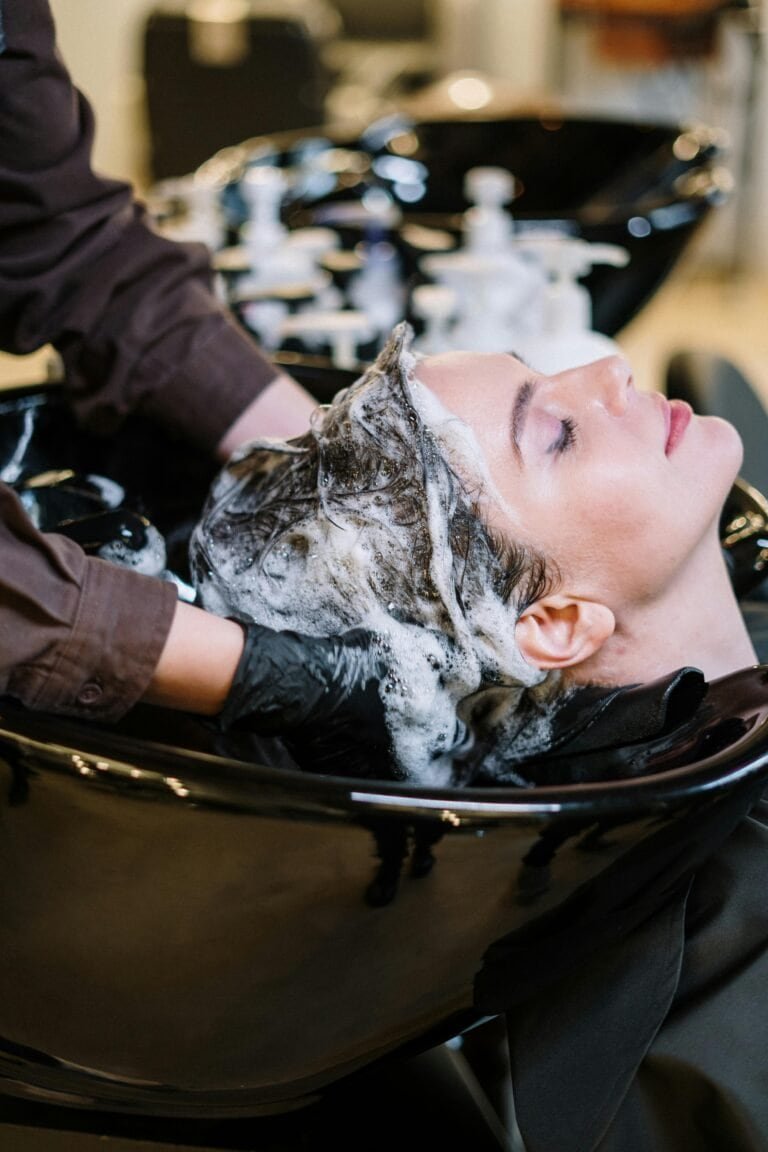
Step 1 – Cleansing: Shampooing with 0.5-1% Piroctone Olamine Shampoo
Your first step in the fight against dandruff is establishing the right cleansing foundation. This means choosing a shampoo that actually rebalances your scalp’s microbiome rather than just removing those visible flakes. While many dandruff shampoos focus on stripping away oils or using harsh chemicals, the most effective approach targets the underlying microbial imbalance we discussed in the 5 Pillars post.
Why Piroctone Olamine is your best choice: Research consistently shows that piroctone olamine-containing shampoos create measurable, positive changes in scalp microbiome composition. In clinical studies, using Piroctone Olamine shampoo for just 3 weeks changed the scalp’s microbial community from one that causes dandruff to one that doesn’t by lowering harmful species like Malassezia restricta and Staphylococcus capitis and boosting helpful Cutibacterium acnes.
Here’s what makes piroctone olamine special: Unlike zinc pyrithione (which has been banned in the EU due to safety concerns), piroctone olamine provides antifungal benefits while being gentler on your scalp. It doesn’t just kill everything indiscriminately—it selectively rebalances your microbial ecosystem. Studies indicate that multiple species contribute collectively to scalp health, and piroctone olamine works with this natural complexity rather than against it.
The optimal concentration is 0.5-1% piroctone olamine—effective without being overly aggressive. Look for shampoos that list “Piroctone Olamine” in the ingredients, ideally within the first 5-7 ingredients to ensure adequate concentration.
Frequency matters
Use your piroctone olamine shampoo 2-3 times per week – this frequency allows the active ingredients to work effectively while giving your scalp time to maintain its natural balance between treatments.
Application technique
Start by wetting your hair and scalp completely in the shower. Place 2-3 dimes’ worth of piroctone olamine shampoo into your palm, then use your fingertips to apply it directly onto your scalp, working across all areas and adding more as needed for complete coverage. Massage the shampoo into your scalp for 1-2 minutes using gentle, circular motions with your fingertips until you feel it working across your entire scalp surface. Then gently massage into hair lengths.
This cleansing step creates the foundation for the conditioning and targeted treatments that follow, setting your scalp up for long-term health rather than temporary relief.

Step 2 – Conditioning & Nourishing Treatment: Apple Cider Vinegar + Shikakai + Aloe Vera Rinse
Your piroctone olamine shampoo helps balance microbes, while this conditioning treatment focuses on softer but just as crucial parts of scalp health: keeping the right pH, holding in moisture, and supporting the skin barrier. Think of it as creating the optimal environment for your newly balanced scalp microbiome to thrive.
Why does this three-ingredient combination work so well together? Each component addresses different aspects of scalp health while amplifying the others’ benefits. Apple cider vinegar adjusts your scalp’s pH to the slightly acidic level (around 4.5-5.5) that healthy scalps naturally maintain—this acidic environment inhibits problematic fungi while supporting beneficial microorganisms. Its malic acid content provides gentle chemical exfoliation, removing dead skin cell buildup without the harshness of physical scrubbing.
Shikakai brings centuries of Ayurvedic wisdom to your modern routine. This “fruit for the hair” contains natural saponins that provide exceptionally mild cleansing without stripping your scalp’s protective oils. Unlike conventional detergents that can disrupt your skin barrier, shikakai cleanses while actually conditioning—it prevents scalp dehydration and provides natural detangling properties. This makes it perfect for maintaining cleanliness between your piroctone olamine shampoo sessions.
Aloe vera completes the trilogy by delivering deep hydration and anti-inflammatory compounds directly to your scalp tissue. Rich in vitamins B complex, C, and carotene, aloe vera doesn’t just moisturize—it actively supports skin repair and regeneration. Its mucilaginous texture creates a protective film that helps seal moisture into your scalp while providing immediate relief from tightness or irritation.
The synergistic effect: When combined, these ingredients create a treatment that simultaneously cleanses, conditions, exfoliates, hydrates, and protects. The acidic environment from apple cider vinegar enhances the penetration of aloe vera’s nutrients, while shikakai ensures gentle cleansing without disrupting the pH balance you’re trying to achieve.
How to apply
Use this treatment after shampooing as a conditioning step. Apply to damp hair, focusing on your scalp first. Massage gently for 2-3 minutes, then apply to your hair. Leave for an additional 5 minutes, then rinse thoroughly with cool water. When used after your piroctone olamine shampoo, it serves as a natural conditioner that complements the cleansing step while providing the pH balancing and nourishing benefits your scalp needs. We’ll show you exactly how to formulate this conditioning treatment in the DIY section below.
What you’ll notice: This treatment provides immediate scalp comfort while supporting long-term health. The apple cider vinegar adds natural shine and helps close hair cuticles, shikakai leaves your hair feeling soft and manageable, and aloe vera soothes any residual scalp sensitivity. Together, they create the ideal foundation for the targeted treatment in Step 3 while maintaining the microbial balance established by your piroctone olamine shampoo.
Step 3 – Targeted Scalp Treatment: Daily Leave-In Anti-Flake Serum
This concentrated botanical treatment represents an important stone in your dandruff elimination strategy. Designed specifically to eradicate dandruff and restore scalp health, this leave-in serum addresses both the root causes and symptoms simultaneously providing anti-flake, anti-itchiness, and anti-inflammatory activity that works continuously throughout the day.
This treatment delivers 24/7 therapeutic support directly to your scalp. Its comprehensive blend of antimicrobial, anti-irritant, anti-inflammatory, regenerative, and healing properties provides significant efficacy in treating excessive oiliness, persistent flaking, and scalp irritation while helping to restore complete scalp harmony.
Why daily application is essential: Dandruff is a continuous biological process—Malassezia fungi don’t take breaks, inflammatory pathways remain active, and sebum production happens around the clock. This treatment counters these processes continuously, preventing the daily buildup that leads to visible flaking while accelerating the healing of already-damaged scalp tissue.
The therapeutic powerhouse ingredients
Neem oil acts as a protective barrier against fungi, containing compounds that specifically target Malassezia species while supporting healthy skin regeneration. Its sustained-release action makes it ideal for leave-in applications.
Tea tree oil provides broad-spectrum antimicrobial coverage, working synergistically with neem to maintain the microbial balance established by your cleansing routine while delivering anti-inflammatory benefits directly to irritated tissue.
Copaiba balsam essential oil contains high levels of beta-caryophyllene, a natural compound that provides potent anti-inflammatory action by interacting with cannabinoid receptors in the skin. This unique mechanism helps reduce scalp inflammation and irritation without any psychoactive effects, making it particularly effective for sensitive, inflamed scalps.
Rosemary essential oil goes beyond its antimicrobial properties to help regulate scalp hormones that influence sebum production and hair growth cycles. Research suggests rosemary can help modulate DHT (dihydrotestosterone) activity at the scalp level, potentially addressing one of the hormonal factors that contribute to excessive oiliness and scalp sensitivity.
Coconut and amla oils form the nourishing base, with coconut oil’s lauric acid providing additional antifungal action while both oils support barrier restoration. Amla oil has proven particularly effective at reducing sebum production via inhibition of the 5-alpha reductase enzyme, directly addressing one of the key factors that feeds Malassezia overgrowth while providing essential fatty acids for scalp health.
Bisabolol delivers gentle but powerful anti-inflammatory action, reducing the inflammation marker cascade that perpetuates dandruff while being completely non-irritating for daily use.
Brazil nut and pumpkin seed oils offer important minerals and fatty acids that help maintain healthy skin cell renewal and control sebum production—tackling the root problems instead of just the symptoms.
Your daily routine
Apply a few drops to a clean, damp scalp after washing or to a dry scalp on non-wash days. This treatment works independently of Steps 1 and 2—you can use it even on days when you don’t shampoo or condition. Divide your hair into sections, apply the treatment along each part line, gently massage it in for better absorption, and leave it in without rinsing. No rinsing required.
While conventional treatments only work during the brief time they’re on your scalp, this leave-in formula provides uninterrupted therapeutic action. It soothes irritation as it develops, prevents flake formation before it becomes visible, and continuously delivers healing compounds to restore your scalp’s natural balance.
The DIY formulation below allows you to craft this powerful serum using precise therapeutic concentrations, ensuring maximum potency for accelerated results.
DIY Custom Formulations
Ready to take complete control over your scalp health? Creating your own formulations allows you to customize ingredient concentrations, ensure the highest quality components, and avoid unnecessary additives that can compromise results.
While commercial products offer convenience, DIY formulation provides several distinct advantages: you know exactly what’s going onto your scalp, you can adjust concentrations based on your specific needs, and you can source the purest, most potent ingredients available. Most importantly, you can create therapeutic-grade treatments at a fraction of the cost of premium commercial alternatives.
The two recipes below correspond directly to Steps 2 and 3 of your regimen. The conditioning and nourishing treatment provides the perfect pH-balancing, hydrating follow-up to your piroctone olamine shampoo, while the anti-flake serum delivers concentrated therapeutic compounds for daily scalp support.
These aren’t basic kitchen remedies—they’re precisely formulated treatments using professional-grade percentages and preparation techniques. Each recipe includes exact measurements, step-by-step instructions, and safety guidelines to ensure you achieve consistent, effective results every time.
Important safety note: When working with essential oils and concentrated botanicals, proper measurement, dilution, and safety protocols are essential. Always patch test new formulations and follow the preparation instructions carefully. If you have sensitive skin or existing scalp conditions, consider starting with lower concentrations of active ingredients.
Ready to become your own scalp health formulator? Let’s dive into creating these powerful, customized treatments.
Materials Needed
- 2×250ml or 500ml application bottle (for the conditioning nourishing treatment)
- 30ml dark amber or cobalt blue glass bottle with dropper (for anti-flake scalp serum)
- Digital scale capable of measuring to 0.1g precision or even better to 0.01g precision (essential for accurate essential oil measurements)
- Glass beakers (1×500ml, 2×250ml, 2×100ml, and 1×50ml)
- Glass stirring rod or small stainless-steel spatula for mixing
- Measuring pipettes (3ml size for precise measurement)
- Brown coffee filter #4
- 2 Small funnels
- Sanitizing alcohol (95% ethanol) for cleaning equipment
- Nitrile gloves (essential when handling essential oils)
- Safety glasses or goggles (recommended when working with concentrated ingredients)
- Waterproof labels and permanent marker (crucial for dating and identifying your formulations)
- Clean towels or paper towels for cleanup
DIY Conditioning & Nourishing Treatment
Ingredient List For 500ml of finished treatment
- Shikakai Powder – 50g
- Apple Cider Vinegar Powder – 50g
- Pure Aloe Vera Juice – 320g
- Distilled Water – 350g
Preparing Shikakai extract (20% concentration)
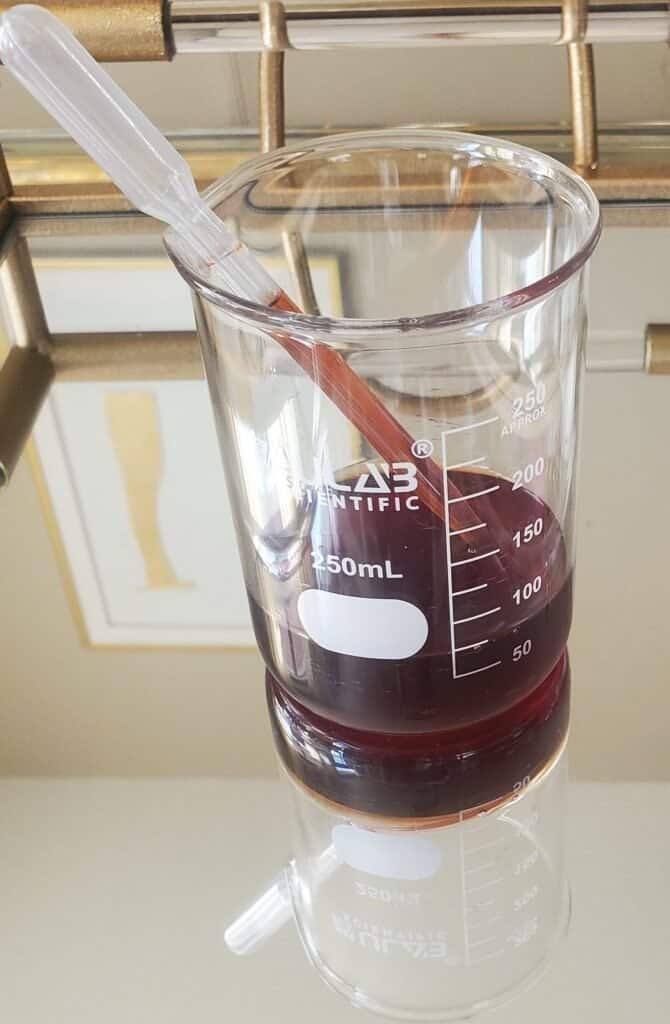
Sanitize your workspace and all equipment with 95% ethanol. Allow to air dry completely. Begin by boiling around 250g of distilled water. Weigh 50g of shikakai powder in your 250ml glass beaker. Weigh and slowly pour 200g of water over the powder while stirring continuously with your glass stirring rod. This hot water extraction helps break down the plant cell walls and release the beneficial saponins and other active compounds.
Stir thoroughly for 3-5 minutes, ensuring all powder is fully wetted and no dry clumps remain. Use the stirring rod to break up any lumps that form, as thorough mixing is essential for complete extraction. The mixture will appear slightly muddy brown and will foam due to the natural saponins being released.
Cover the beaker and let the mixture steep for one full hour at room temperature. This steeping time allows the water to fully extract the water-soluble compounds, including the gentle cleansing saponins that make shikakai so effective for scalp care.
Set up your overnight filtration system by placing a #4 coffee filter in your funnel and positioning it over a clean 250ml beaker. Pour the entire shikakai mixture into the filter and allow it to drain slowly for 12-16 hours. Do not press or squeeze the filter, as this can introduce plant particles into your extract.
The resulting clear, amber-colored liquid is your shikakai extract, ready for use in the final conditioning treatment formulation. This extract should yield approximately 80-85g of filtered liquid.
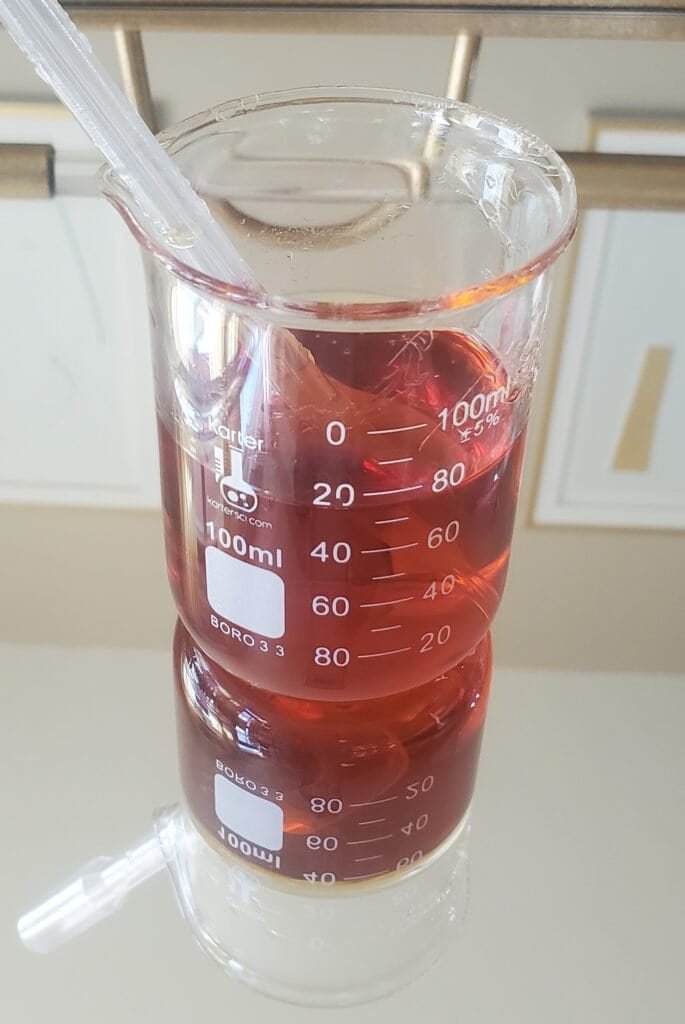
Preparing Apple Cider Vinegar Concentrate (40% concentration)
Sanitize your workspace and all equipment with 95% ethanol. Allow to air dry completely. Warm 100g of distilled water to approximately 40-45°C. Add 50g of apple cider vinegar powder to your 100ml glass beaker. Weigh and slowly pour 75g of warmed water over the powder while stirring continuously with your glass stirring rod. The moderate temperature helps dissolve the powder without destroying the heat-sensitive compounds.
Stir vigorously for 3-5 minutes until the powder is completely dissolved and no lumps remain. Apple cider vinegar powder typically dissolves more readily than shikakai, but thorough mixing ensures you extract all the beneficial acids. The mixture will appear golden-brown and may have a sharp, tangy aroma characteristic of concentrated vinegar.
Cover the beaker and allow the mixture to steep for one full hour at room temperature. This steeping period ensures complete dissolution and allows any remaining particles to settle, making the subsequent filtration more effective.
Set up your filtration system by placing a #4 coffee filter in your funnel positioned over a clean 150ml beaker. Pour the entire apple cider vinegar mixture into the filter and allow it to drain slowly for 12-16 hours. Avoid pressing the filter to maintain clarity of your concentrate.
The resulting clear, amber liquid is your apple cider vinegar concentrate, with a concentrated acidic profile ideal for pH balancing. This process should yield approximately 90-100g of filtered concentrate.
Formulating the Final Conditioning & Nourishing Treatment
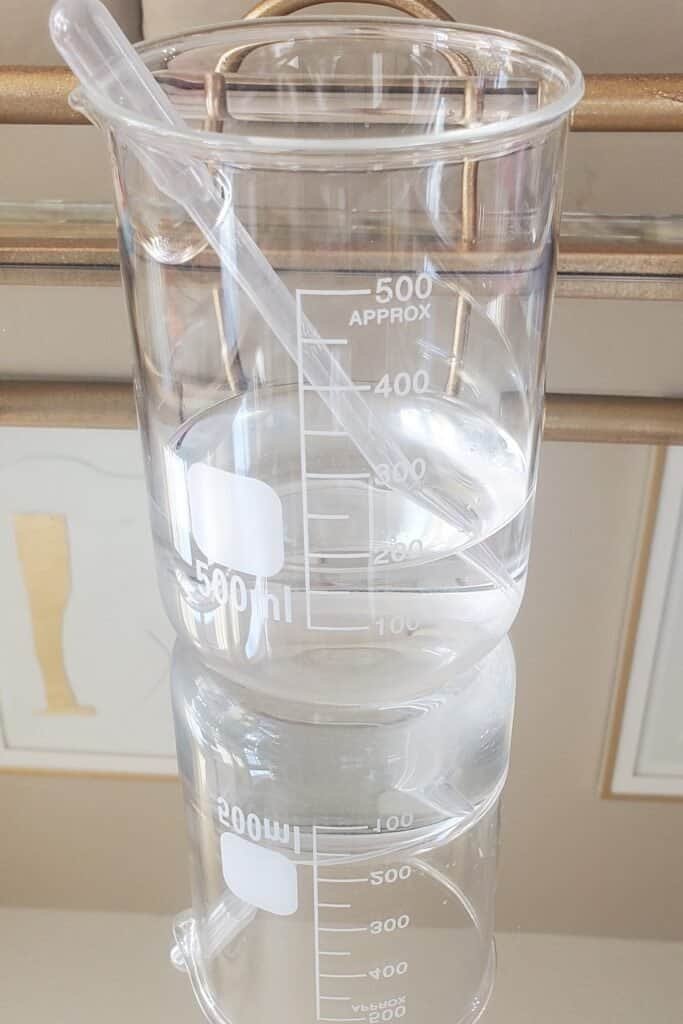
Sanitize your workspace and all equipment with 95% ethanol. Allow to air dry completely. Using your 500ml glass beaker, begin by measuring and adding 320g of pure aloe vera juice as your base. The aloe vera serves as both the primary active ingredient and the carrier for your shikakai extract and apple cider vinegar concentrate.
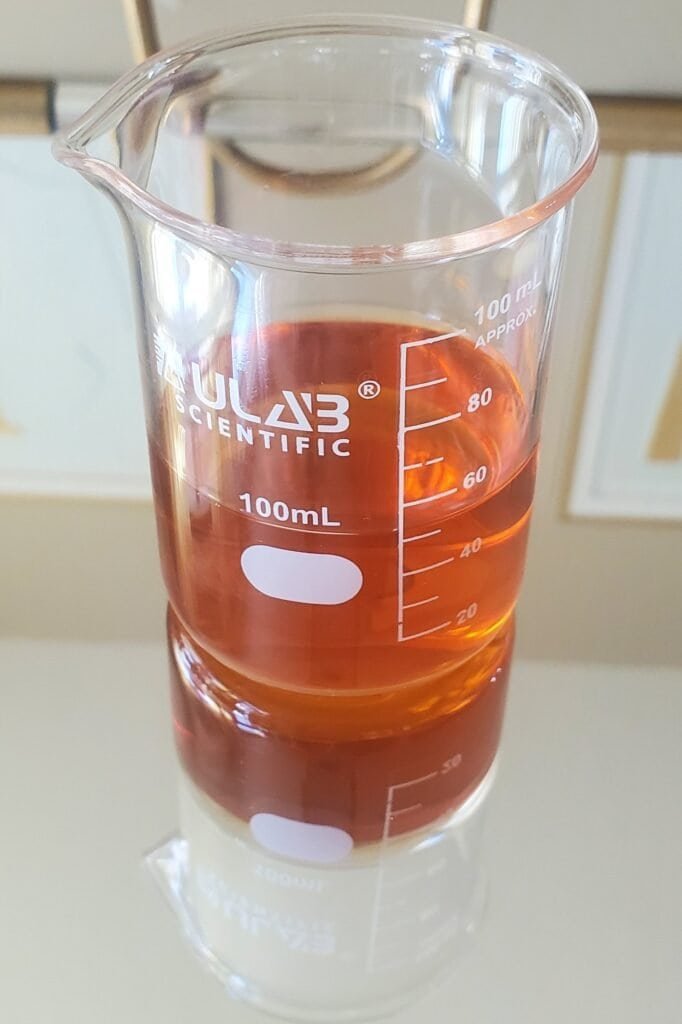
Add your prepared shikakai extract: Slowly pour your 80-85g filtered shikakai extract into the aloe vera while stirring gently with your glass stirring rod. The mixture will take on a light amber color and may develop a slight natural foam due to the saponins in the shikakai.
Incorporate your apple cider vinegar concentrate: Slowly pour your 90-100g filtered apple cider vinegar concentrate into the mixture, stirring continuously. The pH will become more acidic, which is exactly what you want for optimal scalp balance.
Stir the complete mixture thoroughly for 1 minute until all components are fully integrated and the color appears uniform. The final treatment should have a golden-amber appearance with a mild, pleasant scent combining the earthy shikakai with the tangy apple cider vinegar notes.
Transfer to your application bottles using the funnel to prevent spills. This recipe yields approximately 500g of treatment, which you can divide between two 250ml application bottles or use one 500ml bottle, depending on your preference.
Final product composition: Your treatment now contains approximately 10% shikakai extract, 10% apple cider vinegar extract, 65% aloe vera juice, and 15% water content from the extraction processes.
Storage and shelf life: Label your bottles with the preparation date and store in the refrigerator. This natural treatment maintains potency for up to 2 weeks when properly refrigerated.
DIY Anti-Flake Scalp Serum
Ingredient List
Ingredients to make 25g – (fills one 30ml bottle)
- 7.17g organic virgin coconut oil – 28.7%
- 6.25g 100% pure amla oil – 25%
- 3.75g Brazil nut oil – 15%
- 3.75g pumpkin seed oil – 15%
- 2g organic Neem oil – 8%
- 0.75g tea tree leaf essential oil – 3%
- 0.5g natural Vitamin E (tocopherol) – 2%
- 0.38g copaiba balsam essential oil – 1.5%
- 0.33g bisabolol natural – 1.3%
- 0.12g rosemary leaf essential oil – 0.5%
Preparation Instructions
- Sanitize your workspace and all equipment with 95% ethanol. Allow to air dry completely.
- Prepare solid oils if necessary: If your coconut oil or neem oil are solid, gently warm them to liquid state using a warm water bath. Do not overheat—just warm enough to liquify.
- Weigh the base carrier oils (coconut, amla, Brazil nut, and pumpkin seed oils) into your glass beaker using the digital scale. Stir gently to combine.
- Add the neem oil and mix thoroughly, as neem oil has a strong scent that needs to be well-distributed.
- Measure and add the bisabolol using a pipette, stirring well to incorporate.
- Add the Natural Vitamin E (tocopherol) using a pipette and stir thoroughly.
- Carefully measure each essential oil using precise pipettes
- Add tea tree essential oil first
- Add copaiba balsam essential oil
- Finally, add rosemary essential oil
- Stir the complete blend for 2-3 minutes to ensure all ingredients are fully integrated.
- Transfer the serum into your 30ml dark glass dropper bottle using the beaker spout.
- Cap tightly and shake gently but thoroughly.
- Label your bottle with contents and preparation date.
Application Instructions
Apply a few drops of serum directly to a clean, damp scalp after shampooing or to a clean, dry scalp on non-wash days. Part your hair into sections and apply serum along each part line, focusing on areas prone to flaking or thinning. Gently massage the serum into your scalp using circular motions with your fingertips for 1-2 minutes to enhance absorption and stimulate circulation. Do not rinse out—this is a leave-in treatment designed to work continuously. Use it daily for intensive treatment or 3–4 times per week for maintenance.
Safety & Storage Considerations
- Patch test: “Always perform a patch test 24-48 hours before first use by applying a small amount to your inner forearm”
- Contraindications: “Avoid if pregnant/nursing or allergic to tree nuts or have known sensitivity to tea tree oil
- Storage: Store in a cool, dark place away from direct sunlight
- Shelf Life: With Natural Vitamin E preservation, this serum maintains potency for 8-12 months when stored properly.
This potent leave-in treatment provides continuous scalp support between wash days while delivering growth-supporting nutrients directly to your hair follicles.
Conclusion
You now have a complete, science-backed system for eliminating dandruff naturally. This 3-step regimen transforms the complex pathophysiology we explored in the 5 Pillars post into a practical, daily routine that addresses every underlying mechanism systematically.
The power lies in the integration: Your piroctone olamine shampoo help rebalances the microbial ecosystem that drives flaking, your conditioning treatment maintains the optimal pH and barrier function needed for scalp health, and your daily leave-in serum provides continuous therapeutic support that prevents problems before they become visible. Together, these steps create an environment where dandruff simply cannot survive.
Remember, consistency is your key to success. Unlike harsh treatments that provide temporary relief followed by rebound flaking, this regimen works by gradually restoring your scalp’s natural balance. Most people notice reduced itching within the first week, visible improvements by weeks 2-3, and significant long-term results by 6-8 weeks of consistent use.
The DIY formulations give you complete control over ingredient quality and concentration, allowing you to customize treatments based on your specific needs while ensuring you’re using the purest, most potent compounds available. You now have the knowledge to make informed decisions about your scalp health.
Your journey to lasting scalp health starts with your very next shower. Begin with Step 1 – choose a quality shampoo with piroctone olamine and establish your cleansing foundation. Once that becomes routine, add your conditioning treatment, then incorporate the daily serum for comprehensive support.
The days of temporary fixes and endless flaking are behind you. You have the science, the system, and the tools to achieve the healthy, comfortable scalp you deserve. Take action today, stay consistent, and watch your scalp transform from a source of frustration into a foundation of confidence.
Your naturally dandruff-free future starts now.
Other Posts You May Like:
- 5 Essential Pillars to Get Rid of Dandruff Naturally
- Understanding Scalp Health: The Science Behind Strong, Shiny Hair
- 5 Steps Routine for healthy Scalp: How to Maintain Strong, Shiny Hair
- Photosensitivity and Skin Phototype: Understanding and preventing Sun Reactions
- Hydroquinone-Induced Hyperpigmentation in Melanin-Rich Skin: Causes, Treatment, and Prevention
- Natural Skincare Routine for Hyperpigmentation: A Step-by-Step Guide
- Sun Protection for Black Skin: Why Cancer prevention Alone May Not Justify Sunscreen Use
- How to Treat Hyperpigmentation Naturally: A Complete Guide